Programming a Genie garage door opener might seem like a daunting task, but with the right instructions, it’s something anyone can handle.
Whether you’re setting it up for the first time or reprogramming it, this guide will walk you through each step to ensure you can control your garage door with ease.
Genie has built a reputation for providing reliable and durable garage door openers, and their programming process is designed to be straightforward for homeowners.
Why Program Your Genie Garage Door Opener?
Programming your Genie garage door opener allows you to sync the opener with remotes, wireless keypads, and vehicles that come with built-in garage door controls.
By doing so, you can improve both the convenience and security of accessing your garage. Whether you’ve just moved into a new home, purchased a new remote, or reset the system for added security, knowing how to program the opener is essential.
Tools You Will Need
Before you begin, make sure you have the following items handy:
- The garage door opener’s remote control
- Access to the control panel on the opener motor
- A ladder (if needed, depending on the position of your opener)
- The user manual (optional but helpful)
Step 1: Locating the Learn/Program Button
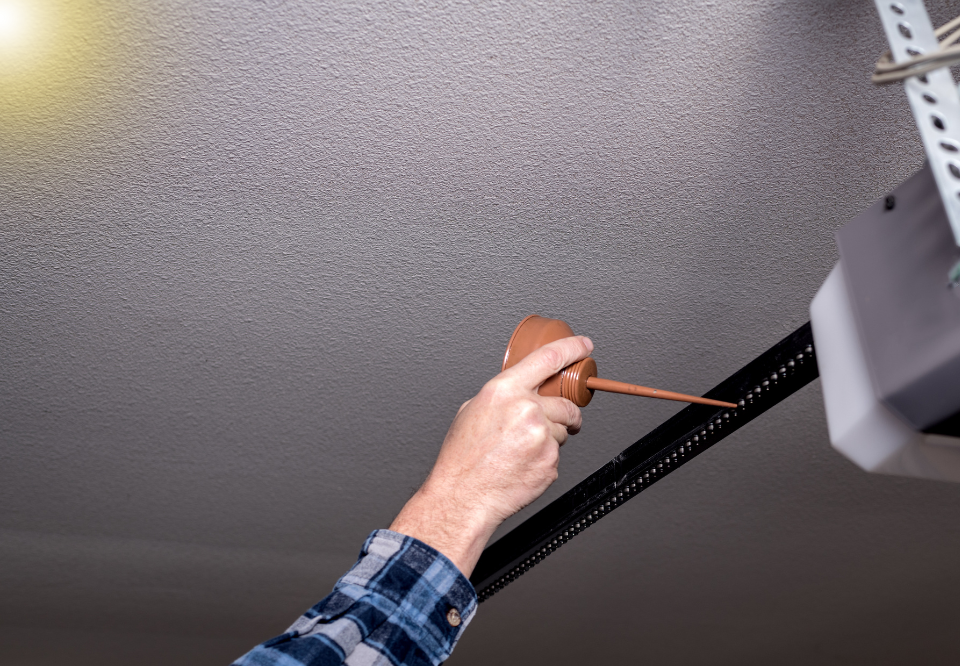
The first step in programming your Genie garage door opener is locating the “Learn” or “Program” button. On most models, this button is found on the motor unit, which is typically installed on the ceiling of the garage.
- Use a ladder if necessary to access the motor housing.
- Look for a button that is either labeled as “Learn” or “Program” (depending on the model). This button is typically next to a small LED light indicator.
Step 2: Preparing the Opener for Programming
Once you’ve located the Learn/Program button, it’s time to prepare the opener to accept a new remote or keypad signal.
- Press and release the Learn/Program button on the opener. The small LED light will turn on, indicating that the system is ready to be programmed.
- In some models, the light will blink continuously, signaling that the opener is in programming mode.
- Be cautious not to hold down the button for too long, as this could reset all existing programming, which might require you to reprogram all connected devices.
Step 3: Programming a Remote Control
Now that the opener is in programming mode, it’s time to program your remote control.
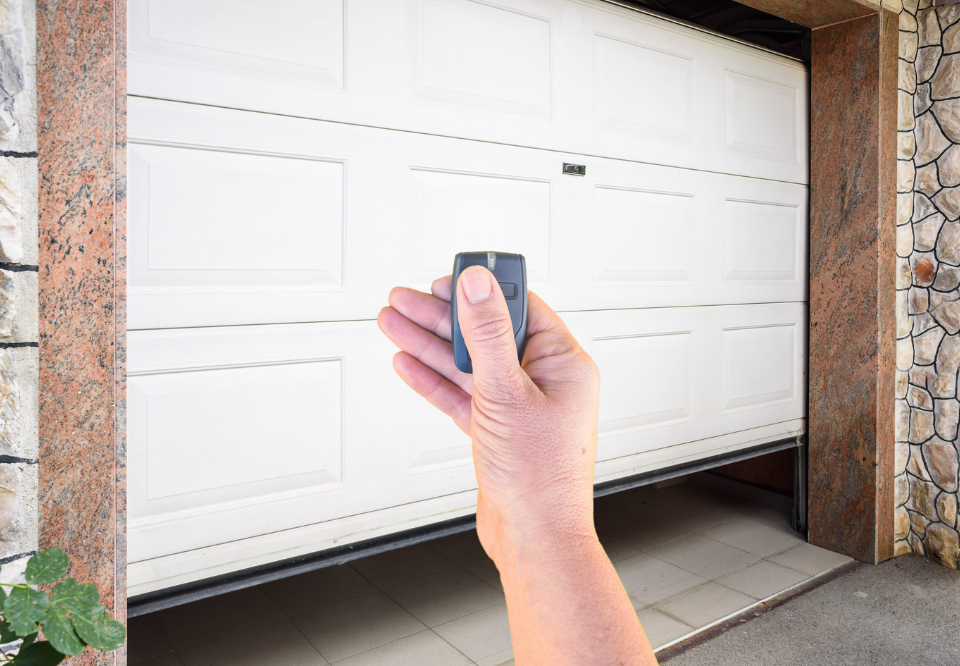
- Press the button on the remote that you want to link to the opener. Hold it for a few seconds until the LED light on the opener blinks or turns off. This signals that the opener has successfully paired with the remote.
- For newer models, this process is instantaneous, while older models may require you to hold the button for a longer period (around 5-10 seconds).
- Once the LED light turns off or stops blinking, release the button on the remote.
To test, press the remote button you just programmed. The garage door should respond by opening or closing.
Step 4: Programming a Wireless Keypad
If you have a Genie wireless keypad, you can program it to work with your opener using a similar process.
- Enter the default PIN (usually provided in the user manual) on the keypad, followed by the “Up/Down” button.
- Press and release the Learn/Program button on the motor unit.
- Return to the keypad and enter your new desired PIN, then press the “Up/Down” button again.
- The opener’s LED light should blink or turn off to indicate that the keypad has been successfully programmed.
Test the keypad by entering your new PIN and pressing the “Up/Down” button. The garage door should open or close.
Step 5: Programming a Vehicle with HomeLink
Many vehicles come with built-in garage door controls known as HomeLink. If your vehicle has this feature, follow these steps:
- Hold the two outer HomeLink buttons until the indicator light begins to flash (this may take up to 30 seconds).
- Press and hold the desired HomeLink button and the garage door remote button simultaneously. Keep holding until the HomeLink indicator light changes from a slow blink to a rapid blink.
- Press the Learn/Program button on your Genie garage door opener’s motor unit.
- Return to your vehicle and press the programmed HomeLink button once to test the connection. The garage door should respond.
Step 6: Resetting or Reprogramming
If for any reason you need to reset your Genie garage door opener, perhaps because you’re moving or you’ve lost your remote, follow these steps to clear the memory and reprogram:
- Press and hold the Learn/Program button until the LED light turns off (typically about 10 seconds). This erases all stored remotes, keypads, and HomeLink devices.
- Once the memory is cleared, follow the earlier steps to reprogram your devices.
Common Troubleshooting Tips
Even though Genie garage door openers are reliable, you might occasionally encounter issues during the programming process. Here are some common troubleshooting steps:
- Weak or dead batteries in the remote are often the cause of programming issues. Always ensure you have fresh batteries installed.
- If your remote or keypad won’t sync, ensure that you’re within range of the opener and that no other electronic devices are causing interference.
- Flashing lights or a door that doesn’t respond may indicate that the opener is not in the programming mode or that the system’s memory needs to be reset.
Ensuring Proper Functionality
Once you’ve successfully programmed your Genie garage door opener, it’s essential to check its functionality. Always test:
- The remote control from different distances.
- The keypad operation and correct PIN entry.
- The HomeLink buttons if you’ve programmed your vehicle.
Additionally, ensure that all safety features, such as the garage door sensors, are functioning properly. These sensors are crucial for preventing the door from closing on objects or people in its path.
Final Thoughts
Learning how to program Genie garage door opener is a simple process that can be done in just a few minutes with the proper steps. Whether you are syncing a remote, keypad, or your car’s HomeLink system, the process is designed to be user-friendly.
The key is to follow the instructions carefully, ensuring that the system is in programming mode, and using the right button sequences.
Now that you’ve programmed your Genie garage door opener, you can enjoy the added convenience and security that comes with a properly functioning garage door system. If you encounter any issues, don’t hesitate to consult your user manual or reach out to Genie’s customer support for further assistance.


