Maintaining a garage door may not seem like a glamorous task, but it’s a crucial part of ensuring the longevity and functionality of one of your home’s largest moving parts.
Today, I’ll walk you through the simple yet satisfying process of lubricating your garage door, a task that I find both meditative and essential for a smoothly operating system. Here’s how you can do it, ensuring your door runs quietly and efficiently, month after month.
Why Lubrication Matters?
A well-lubricated garage door not only operates quietly but also extends the lifespan of its moving parts. Friction can be a major enemy of garage door components like springs, hinges, rollers, and tracks. Regular lubrication reduces wear and tear, prevents rusting, and keeps the door running smoothly.
Tools and Materials Needed
Before you start, make sure you have the following items:
- A high-quality silicone or lithium-based garage door lubricant: Avoid WD-40 for this task as it’s more of a cleaner than a lubricant.
- Rags or paper towels: To clean the parts before lubrication and wipe away any excess.
- A step ladder: If necessary, for reaching the upper parts of the door and the opener.
Step 1: Prepare Your Garage Door
Begin by closing your garage door and disconnecting it from the electric opener by pulling the release handle (usually a red cord). This allows you to manually move the door as needed. Clean the tracks with a rag to remove dust and debris, ensuring that you don’t lubricate dirt that can cause wear.
Step 2: Lubricate the Hinges
Start with the hinges. Apply a small amount of lubricant to the hinge points, but avoid over-lubricating; you don’t want excess oil dripping onto your car or floor. Move the door slightly to let the lubricant penetrate into the hinge joints.
Step 3: Rollers and Bearings
If your garage door has metal rollers, apply lubricant to the bearings inside the rollers. Do not lubricate nylon rollers, but ensure any bearings they have are lubricated. For sealed bearings, you can skip this step as they don’t require maintenance.
Step 4: Springs and Cables
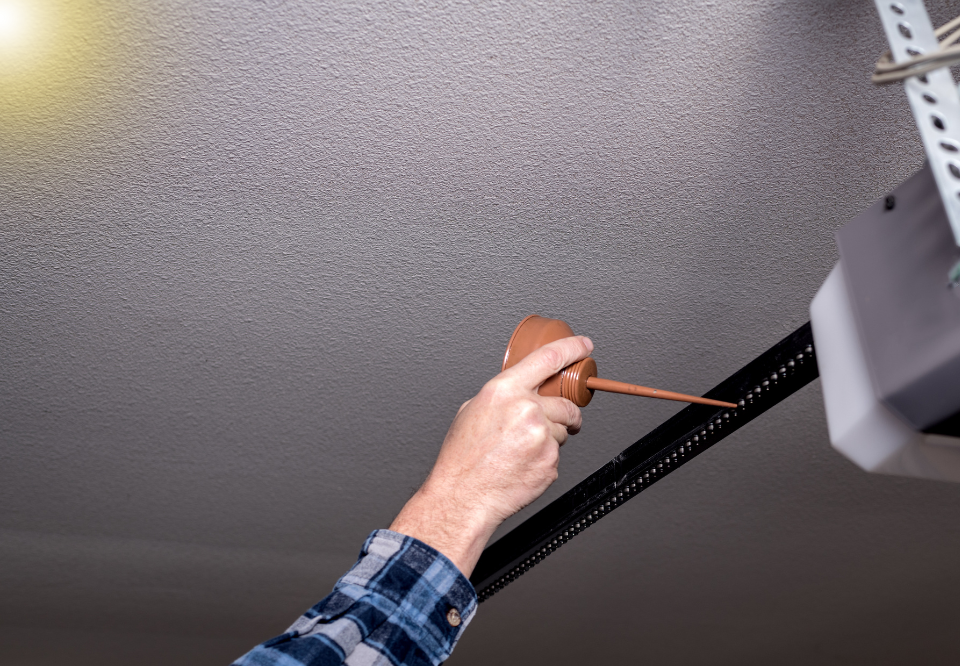
The springs and cables bear a lot of tension and are crucial to the smooth lifting of the door. Apply a steady stream of lubricant across the top of the springs and each cable. This not only keeps them moving freely but also prevents rust and corrosion.
Step 5: Lock and Armbar
Don’t forget the lock and armbar (the mechanism that connects the door to the opener). A squirt of lubricant in the lock mechanism and on the armbar pivot points can prevent sticking and ensure smooth operation.
Step 6: Test Your Door
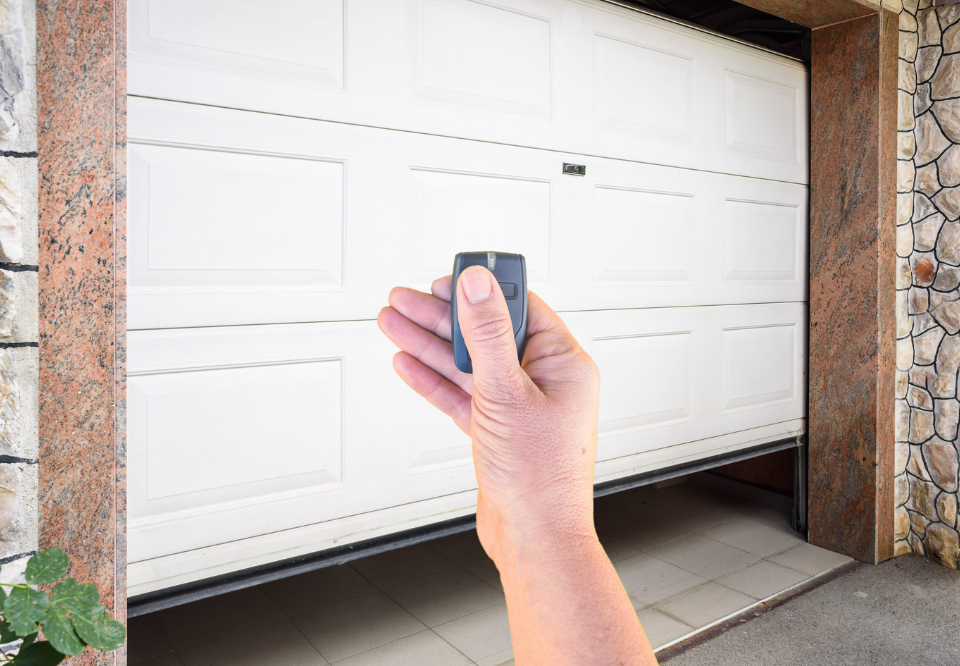
Once you’ve lubricated all the moving parts, manually lift and lower the door a few times to distribute the lubricant evenly. Reconnect the opener and use the control to open and close the door, listening for any noises that weren’t there before. If it still sounds noisy, check if you missed any parts and apply lubricant as needed.
Additional Tips
- Frequency: Lubricate your garage door at least twice a year—before the coldest and hottest months.
- Safety First: Always handle tools and lubricants carefully, especially when working on a ladder.
Conclusion
Lubricating your garage door is an easy DIY task that can greatly enhance its performance and durability. It’s a quick job that can save you from costly repairs down the line and ensure your garage door operates smoothly and quietly.
Plus, it gives you a chance to closely inspect your garage door for any potential issues that could become serious problems.


