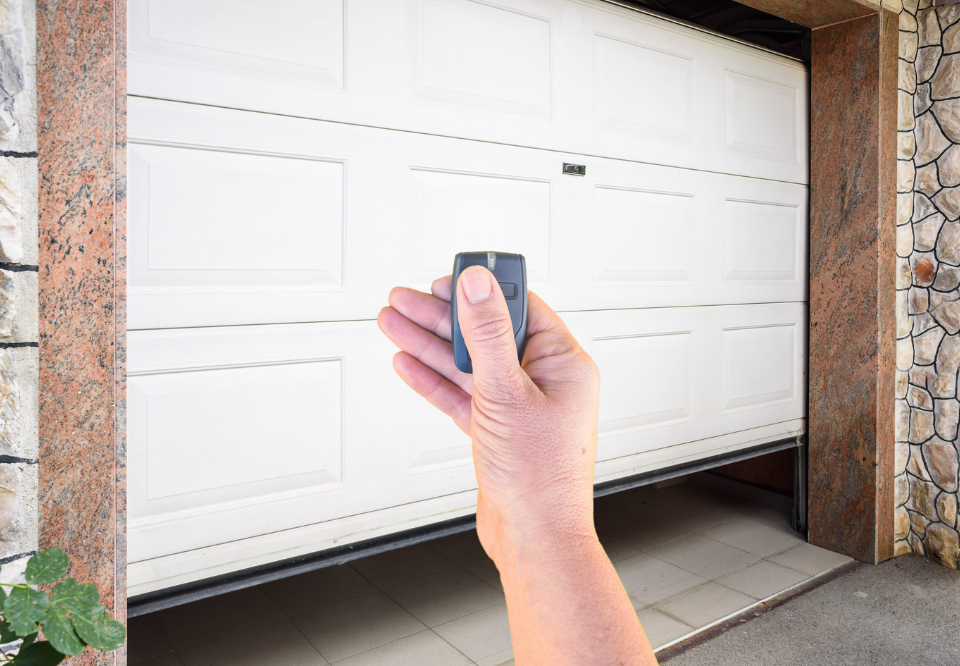
Garage door sensors play a critical role in ensuring safety and smooth operation by detecting obstructions in the door’s path. Misaligned sensors can prevent the door from closing properly, which can be frustrating and potentially dangerous.
Thankfully, aligning garage door sensors is a task you can often handle yourself with a little patience. This guide will walk you through the process of how to align garage door sensors, ensuring your system is working as it should.
What are Garage Door Sensors?
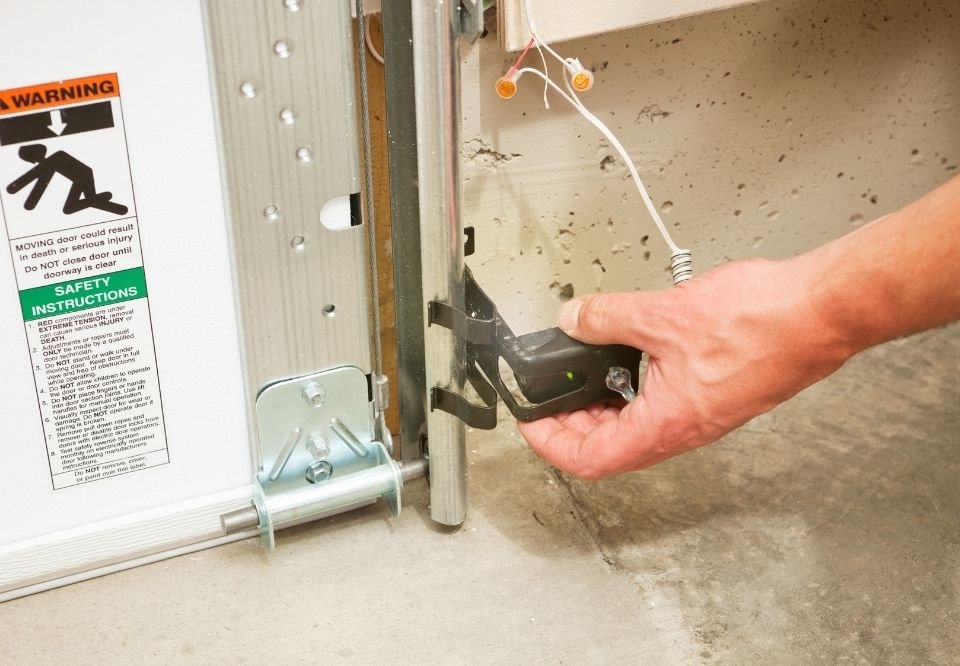
Garage door sensors are typically located on each side of the garage door, about 6 inches above the ground. They consist of two parts: a sending sensor and a receiving sensor.
The sending sensor emits an invisible beam of infrared light, which is detected by the receiving sensor on the other side. When this beam is interrupted by an object, the garage door opener is signaled to stop or reverse the door’s movement.
Over time, vibrations from the garage door opener or accidental bumps can cause the sensors to become misaligned. When this happens, the sensors will not communicate correctly, and the door might refuse to close.
Signs of Misaligned Sensors
Before getting into how to align garage door sensors, it’s important to identify whether misalignment is the root cause of your garage door issue. Common signs of misaligned sensors include:
- The garage door won’t close, and the opener lights start flashing.
- The garage door reverses immediately after touching the ground.
- The LED lights on one or both of the sensors are blinking instead of showing a steady light.
If you notice any of these symptoms, it’s likely time to check the sensor alignment.
Tools You’ll Need
- A screwdriver (if needed for mounting brackets)
- A level
- String or rope (optional)
- A soft cloth
Step-by-Step Guide to Align Garage Door Sensors
Step 1: Power Off the Garage Door Opener
Safety first! Begin by disconnecting the garage door opener from its power source. This will prevent any accidental door movements while you’re working on the sensors.
Step 2: Inspect the Sensors for Obstructions
Check the area around the sensors for any dirt, cobwebs, or debris. Even a small object can interfere with the infrared beam, so use a soft cloth to clean the lenses of the sensors.
Step 3: Check the LED Lights on the Sensors
Both sensors should have a small LED light that indicates their status. Typically, a steady light means the sensors are aligned, while a blinking light means there is an issue. If one or both of the lights are blinking, that’s a sign they’re not properly aligned.
Step 4: Loosen the Sensor Brackets
Locate the screws that hold the sensors in place on their mounting brackets. Loosen these screws just enough so you can adjust the position of the sensors. Be careful not to remove them completely.
Step 5: Adjust the Sensor Alignment
To align the sensors, make sure they are both facing directly at each other. You can use a level to ensure they are at the same height on either side of the garage door. A quick trick is to tie a string from one sensor to the other, ensuring it runs straight across without sagging. This will help you visually confirm the alignment.
Step 6: Tighten the Screws
Once the sensors are aligned, carefully tighten the screws on the sensor brackets to hold them in place. Double-check that the sensors haven’t shifted during this process.
Step 7: Test the Sensor Alignment
Reconnect the garage door opener to its power source. Now, check the LED lights on both sensors again. If the lights are steady, the sensors are properly aligned. Test the garage door by closing it. If it closes smoothly without stopping or reversing, the alignment was successful.
Troubleshooting Tips
- Unstable Brackets: If your sensor brackets are loose or damaged, the sensors may continue to misalign. Consider replacing the brackets if they can’t securely hold the sensors in place.
- Wiring Issues: In some cases, the issue may not be with alignment but with the wiring. Check for any loose or frayed wires connecting the sensors to the garage door opener.
- Environmental Factors: Strong sunlight or reflective surfaces can sometimes interfere with sensor communication. If your sensors are near direct sunlight, consider shading them.
Conclusion
Aligning garage door sensors is a relatively simple task that can save you time and money on unnecessary repairs. By following these steps, you can ensure your garage door sensors are working properly, enhancing the safety and convenience of your garage door system.
Remember to regularly check your sensors for alignment, especially after any significant door movement or adjustments.


