As someone who revels in the challenge and satisfaction of DIY home projects, I recently faced an intriguing question that many homeowners encounter: How do I program a LiftMaster garage door remote?
With LiftMaster renowned for its top-tier garage solutions alongside industry leaders like Chamberlain and Genie, mastering the programming of their devices isn’t just about utility—it’s about taking home automation into your own hands.
Before we dive into the programming steps, let’s understand why LiftMaster stands out. Known for their robust reliability and innovative technology, LiftMaster’s products are designed to offer users both security and convenience.
I chose LiftMaster for these exact reasons, trusting the brand to enhance the seamless operation of my home.
Tools and Preparation
Programming a garage door remote is straightforward if you are prepared. Here’s what you need:
A LiftMaster Garage Door Opener: My model is the LiftMaster Elite Series, lauded for its advanced features and durable construction.
The LiftMaster Remote: My choice, the LiftMaster 890max Mini Key Chain Remote, is perfect for on-the-go use and found easily at retailers like Home Depot.
A Reliable Ladder: Ensure it’s stable and securely positioned before you climb.
Step 1: Locate the Learn Button
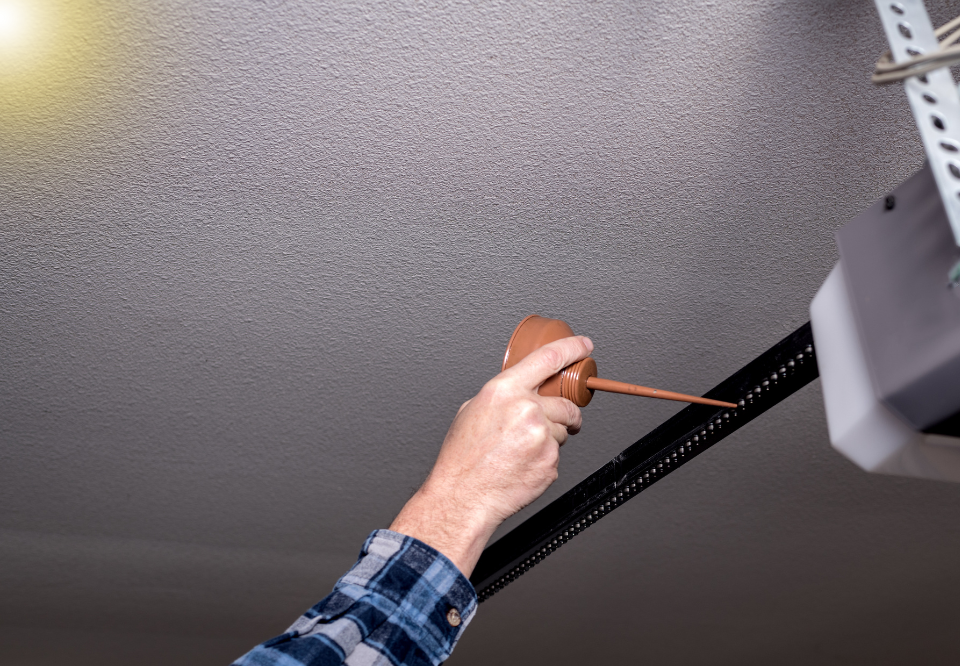
On my Elite Series, the Learn button is cleverly concealed under the light lens at the back of the unit. This button might vary in color—red, yellow, purple—and its location can differ slightly depending on your model. It’s the heart of the programming process, serving as the link between your remote and the opener.
Step 2: Enter Programming Mode
Press the Learn button. A small LED beside it will glow steadily, indicating that it’s ready to receive instructions. This light is your countdown timer; you have exactly 30 seconds to complete the next step.
Step 3: Program Your Remote
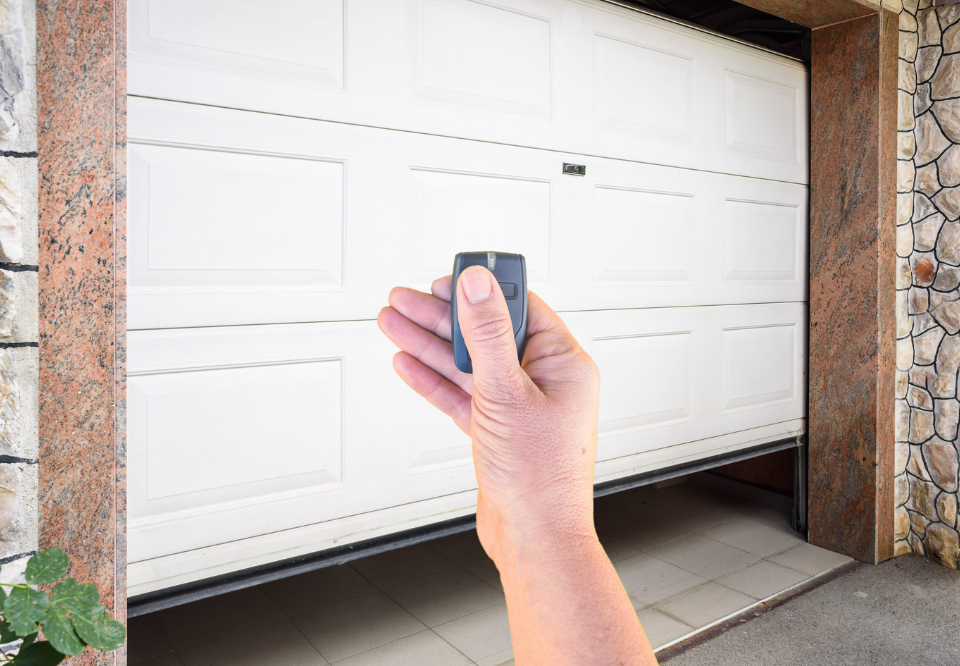
Now, hold the button on your remote that you wish to program. Keep it pressed until you see the garage door opener’s lights blink, or you hear two clicks—this is the universal signal of successful programming across most garage door systems.
Step 4: Testing Your Success
Step back and press the programmed button on your remote. The door should respond by opening or closing. If it doesn’t, don’t fret—programming issues are common and usually fixable with a few tweaks.
Advanced Tips and Considerations
Multiple Devices: If you’re setting up more than one device, like additional remotes or a keypad, repeat the programming steps for each, using the same Learn button.
Integration Capabilities: Modern LiftMaster models can integrate with home security systems and lighting controls, offering enhanced functionality through platforms like the myQ app.
Troubleshooting Common Issues
Sometimes things don’t go as planned. If you encounter problems:
Battery Power: Double-check that your remote’s battery is new or fully charged.
Memory Reset: Clear all programming by holding down the Learn button until the LED goes off, then start over.
Manual Reference: Model-specific instructions can vary; consult your opener’s manual for detailed guidance.
Wrapping Up: Beyond Programming
Successfully programming your LiftMaster remote is more than just a minor victory in home management—it’s an empowerment tool that enhances your home’s functionality. It saves a call to the technician and deepens your understanding of your home’s technological ecosystem.
Programming my LiftMaster remote was an enriching experience that melded technology with practical DIY skills, offering me a small but meaningful triumph in home automation.


